How to Choose Your First Climbing Harness
Your first harness is the one piece of kit you'll wear on every route you ever climb, from your first indoor session to the day you finally lead something outside. It doesn't need to be expensive, and it doesn't need every feature in the catalogue. It needs to fit, hold you comfortably when you're hanging, and carry whatever you're climbing with. Get those three things right and you'll forget you're wearing it.
What follows is the order a good shop assistant would walk you through: fit first, then sizing, then the details that actually separate one harness from another.
Fit beats features every time
Put the harness on over the clothes you normally climb in. Do the waist belt up so the padding sits just above your hip bones rather than on top of them. If the belt slides down when you tighten it, or rides up towards your ribs, the shape is wrong for you — try another model rather than another size.
Leg loops should be snug without pinching. You want to slide a flat hand under the webbing and feel a little resistance. Then lift a knee towards your chest, roughly the position you'll be in on a high step, and check that nothing digs in or twists.
Finally, hang in it. Many shops have a bar for this; at home you can sling a bar or a sturdy beam and clip in with a karabiner. Standing in a harness tells you very little. Hanging tells you almost everything, because that's when the load moves onto the padding and any pressure points make themselves known within a minute or two.
Sizing: measure properly, then ignore the label
Harnesses are sold in sizes based on waist measurement in centimetres, with each size covering a range. Measure around the top of your hips where the belt will actually sit, not at your trouser line, and keep the tape snug rather than tight. Note the measurement down before you go shopping; guessing leads to buying twice.
If you fall near the boundary between two sizes, think about what you'll wear underneath. Erring smaller suits thin summer clothing and a harness that won't need constant re-tightening. Erring larger makes sense if you'll wear it over winter layers or a bulky jacket, or if you're sharing it.
Don't get hung up on whether a harness is marketed for men or women. The real differences are in the shape: the rise from waist to leg loops, the ratio between waist and thigh, and where the padding sits. Anyone can wear either, and the right answer is the one that fits your body. Adjustable leg loops help if your thighs and waist don't match the proportions a manufacturer assumed.
Belay loops, tie-in points and what goes where
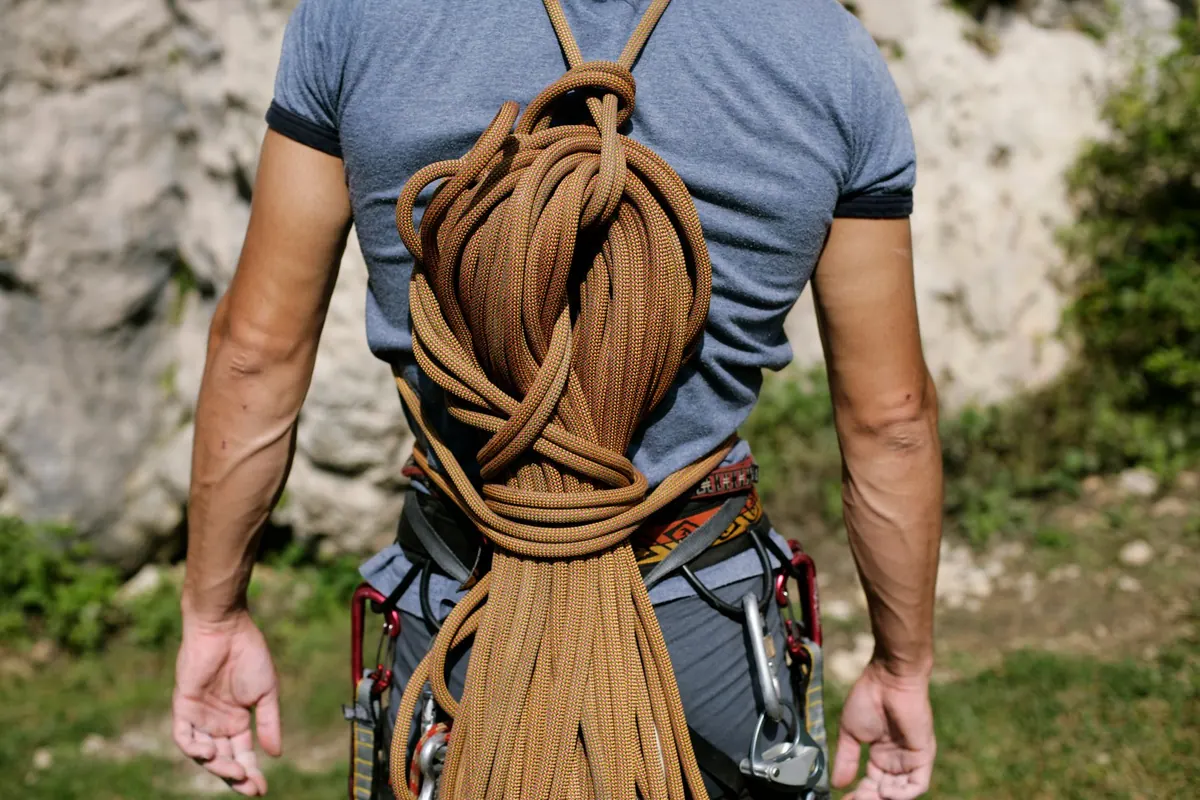
The belay loop is the webbing loop at the front of the harness, where the waist belt and leg loops meet. On most harnesses it's a separate, doubled loop; on some lightweight alpine models there's no belay loop at all and you use a locking karabiner through the waist and leg loops instead. For a first harness, a conventional fixed belay loop is simpler.
This is the loop you clip your belay device to, on a locking karabiner, when you're belaying. It is not where you tie in. Your rope goes through the tie-in points: normally the front loop of the waist belt, threaded through the leg loop bridge, exactly as the manufacturer's instructions show. Read those instructions, and have whoever taught you check your setup the first few times.
The small loop at the back is for carrying things — clipping your shoes on, racking a tag line — and it isn't a belay point. Treat anything that isn't the belay loop or the tie-in points as luggage space.
Gear loops: how many, and why trad climbers care
Gear loops sit around the sides and back of the waist belt. Moulded or reinforced loops stand out from your body and are easy to clip one-handed; soft webbing loops are lighter and pack smaller but collapse flat when empty. What you need depends entirely on what you're climbing.
- Indoor and sport climbing: four loops is plenty. You're carrying quickdraws, a belay device, a sling and maybe a nut tool you'll never use. Prioritise comfort and a clean fit.
- Trad climbing: five or more loops, ideally moulded so they hold their shape. You'll be racking cams, nuts, slings and hexes, and fumbling for gear on a small ledge is no fun. A rear haul loop is useful for a tag line.
- Winter and alpine: look for adjustable leg loops so the harness fits over layers, plus slots for ice clippers. Lighter is better here, but only if it's still comfortable hanging.
If there's any chance you'll move towards trad in the next few years, it's worth buying the gear loops now. A cheap indoor harness will do the job, but you'll resent buying twice.
Comfort is where harnesses really differ
Padding is the main variable. A wide, well-shaped waist belt spreads load across your hips and stays pleasant through a long belay or a slow lower-off. Narrow, webbing-based harnesses are lighter and pack down smaller, but they make themselves felt sooner when you're hanging.
Leg loops come in fixed and adjustable versions. Fixed loops are lighter, less faff and less to get wrong. Adjustable loops suit layering, winter use, or a harness that has to fit more than one person. Elasticated risers at the back stop the leg loops twisting when you step into them, which sounds trivial until you're hopping around on one leg at the base of a route.
Also look at how the padding behaves when you sit into it. Some waist belts are fixed to the webbing; others float and shift with your hips. Neither is better, but one will suit you more than the other, and you'll only know by hanging in both.
The buying checklist
- Try it on with your usual climbing clothes and measure your waist properly beforehand.
- Hang in it for at least a minute, ideally in two or three models for comparison.
- Check the buckle: it should tighten smoothly and hold without slipping, with plenty of tail left through it.
- Make sure the gear loops sit where you can reach them and don't press into your hips or rub under a rucksack strap.
- Inspect the stitching and webbing for damage, and read the manufacturer's guidance on inspection and lifespan.
- Buy from somewhere with a returns policy, or from a shop where staff climb and can watch you hang.
Retire a harness if the webbing is frayed or faded, the stitching is damaged, or it has taken a serious fall onto hardware or been exposed to chemicals. Follow the manufacturer's stated lifespan rather than sentiment.
Then take it climbing. A harness that fits properly is one you stop noticing, which is exactly what you want when you're three metres above your last piece and thinking about your feet.
Photo: BOOM 💥 Photography / Pexels

You Might Also Like
A practical guide to planning a first three-day Lake District hike, covering route choice, realistic daily distances, beds, resupply and what to do when plans change.
Gas, liquid fuel and alcohol stoves each shine in different conditions. We compare weight, fuel availability, cold-weather performance and cost for British camping trips.